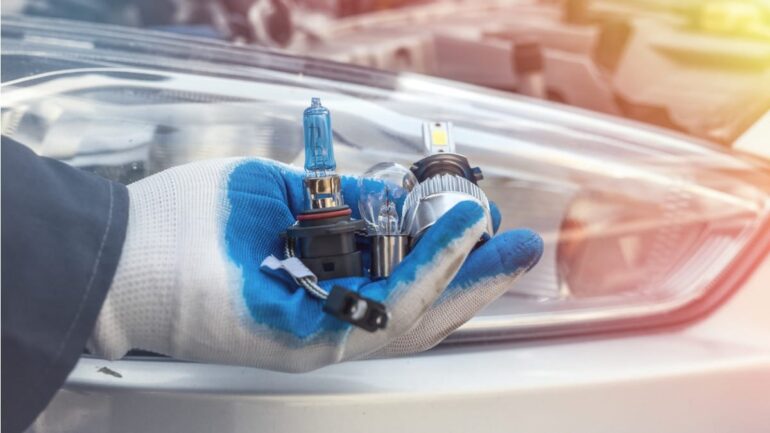
The lights inside your car will burn out, like the ones in your home. These tiny shards of glass will need to be replaced due to wear and tear or severe temperatures. Fortunately, replacing the bulbs is not too difficult and they are reasonably inexpensive.
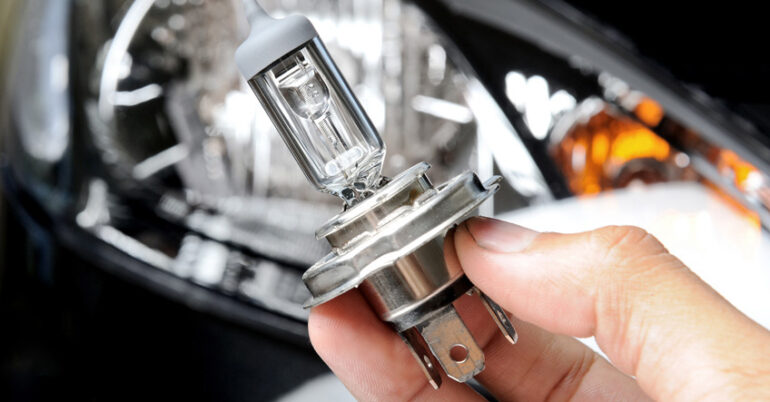
Learn how to change a car’s headlight bulb at home right here. The installation takes only five to ten minutes to replace H13 9008 Headlight Bulbs. It has two filaments and functions as both the high-beam and low-beam headlights on one bulb.
Where to Buy New H13 Headlight Bulbs?

When it comes to buying new H13 headlight bulbs, there is no shortage of options. Whether you’re looking for a direct replacement or an upgrade, there are plenty of places to buy the bulbs. To help you get started, here are a few of the best places to purchase H13 headlight bulbs.
Online retailers such as Amazon and eBay offer a vast selection of H13 headlights from trusted brands. These online stores provide competitive prices and convenient shipping options – so you can have your new bulbs delivered right to your door. Additionally, some online retailers even offer free installation services and returns if necessary.
Your go-to internet retailer for inexpensive, high-quality 9008 headlight bulbs is SuncentAuto. One of the greatest aftermarket headlight producers in the business is SuncentAuto.
They create, produce, and market automobile lighting brands including SEALIGHT, Torchbeam, Marsauto, and Zoncar, and others. Now go to this link for H13 headlight bulbs at great prices.
If you’d prefer to shop in-person, most auto parts stores carry H13 headlight bulbs as well as other bulb types for cars and trucks.
H13 Headlight Bulb Replacement Preparation

Installing a H13 headlight bulb is an essential step in maintaining the overall safety of any vehicle. This type of bulb, also known as an 880 or 9008 bulb, can be bought online from various retailers for a reasonable price. Before purchasing and installing the new bulb, however, it’s important to ensure that you have the proper tools and preparations in place.
The most basic tool needed for this job is a flat-headed screwdriver; other common tools such as pliers and wire cutters may also come in handy depending on the make and model of your car. Additionally, you should refer to your owner’s manual to determine exactly which type of H13 bulb is compatible with your vehicle and buy accordingly. This can prevent potential issues like wiring malfunction or improper fitment when putting in the new bulb.
5 Steps to Change the H13 Headlight Bulb
For instructions on how to replace the headlight in your particular car and what
headlight bulb to buy, consult your owner’s handbook.
Step 1. Turn off the engine of your vehicle.
Turn off your vehicle and remove the keys from the ignition to safeguard your
safety.
Step 2. Open your vehicle’s engine section.
Locate the headlight holder on the front of your car by lifting the hood.
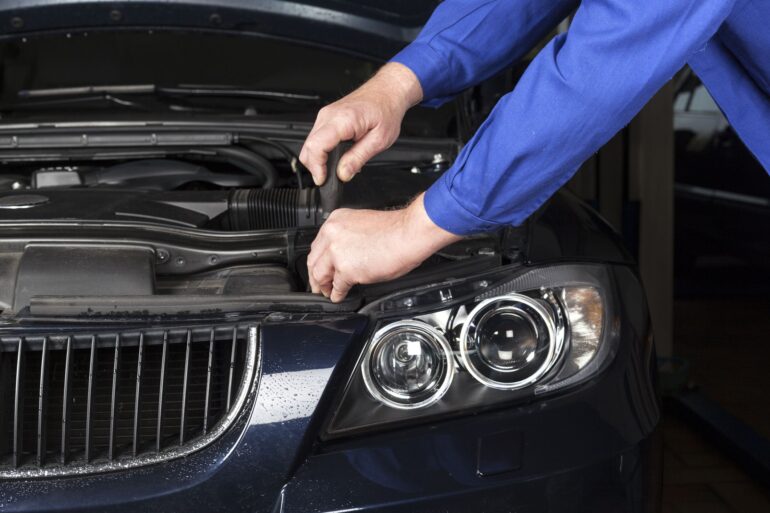
Step 3. Disconnect the power cables for the headlights.
The base of the lightbulb has three wires connecting to it. To keep them in place,
depress the clip or cap.
Step 4. Remove the old headlight’s screws.
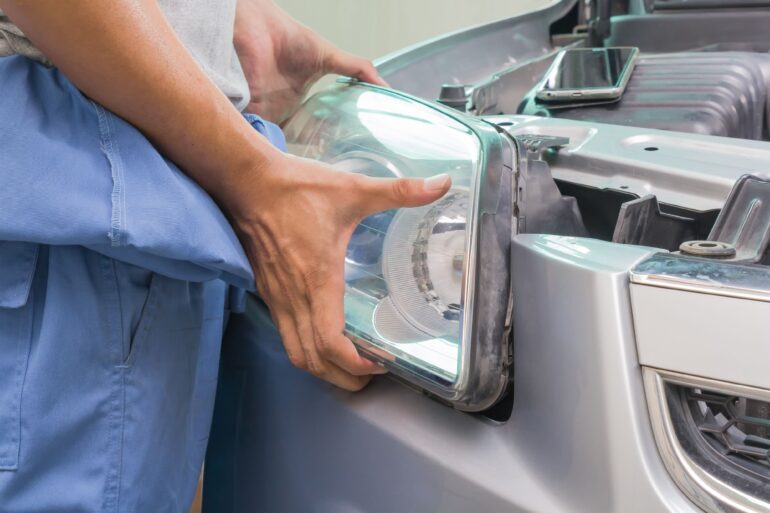
Every car is unique; some allow direct access to the bulb, while others do not. Someticames you have to remove the inner fender and reach behind it because the battery or the air filter housing is in the way. However, changing the headlight bulb is all that is required if you can get the headlight open.
This entails carefully unlocking the bulb after examining how it is secured. You’ll have to remove the entire headlight if you damage the clips used here. As a result, you must observe how it is connected, delicately disassemble it, and then put it back together without touching the bulb’s glass.
Step 5. Install the fresh headlight bulb.
Carefully screw the new bulb in without touching the glass of the old one. If you do, the oil and grime on your hands could cause the bulb to burst once it heats up.
Your car’s hood should be closed. After installing the replacement bulb, your headlights should work like new ones allowing you to enjoy driving your car day or night.
What Leads a Car’s Headlights to Fail?

- Older age. Age is usually to blame for a burned-out light. Your driving could prevent you from realizing that one of your headlights is out. If the headlight bulbs are of the same age, the other one could succumb to terrible health in a matter of weeks. The issue becomes startlingly obvious all of a sudden.
- intense heat and cold. In addition to getting older, headlights can potentially burn out from intense cold or heat. The sensitive light bulb filament can be affected by temperature variations.
- Oxidation. The plastic housing may oxidize and turn white or yellowish, which is another
the reason why lights may fade. This reduces the light’s intensity, making it harder for drivers to see the dark road ahead. In that situation, you would need to buy a new headlight assembly.
- Bulb housing has cracks. Additionally, 9008 Headlight Bulbs can burn out due to housing defects since they cannot withstand moisture. Additionally, you must wear rubber gloves when installing these bulbs because if you touch them with your fingers, the salt from your perspiration will burn them out immediately.
What Are the Benefits of Switching to LED Headlight Bulbs?

LED headlight bulbs are becoming increasingly popular amongst car owners, and for good reason. LED bulbs are considered a major upgrade to traditional halogen car headlights, offering several advantages in terms of longevity, safety and performance. Let’s take a look at some of the main benefits that come with switching to LED headlight bulbs:
Firstly, LED lights are an excellent energy efficient choice since they use up to 70% less electricity than halogen lights. This means that they not only reduce fuel consumption but also help keep your car’s battery from draining too quickly. Additionally, LEDs have a much longer lifespan than halogen bulbs – up to five times longer – making them a cost effective choice in the long run.
Conclusion
In conclusion,replacing a H13 9008 headlight bulb is not as difficult as one might think. With the proper tools, some patience and an understanding of the parts involved, this task can be completed in a relatively short amount of time. It’s important to remember to first disconnect the battery, remove the light assembly and replace it with the new bulb. Be sure to reinstall any clips or covers that were removed during the process and reconnect the battery before turning on your vehicle.
