Windows 10 users are most of the time happier as compared to other platform ones. This is due to the vast services and programs that Windows bring along. However, sometimes Windows users suffer too. This happens when any Service(s) or program(s) of Windows fall sick. When this happens, the service or program starts consuming high disk and CPU power. In this post, we will discuss one such issue. We will discuss the System and Compressed Memory High Disk Usage issue.
I will cover all the necessary information related to this and also provide you Top 3 Ways to fix 100% disk usage by System and Compressed Memory.

What is System and Compressed Memory?
System and compressed memory is a process responsible for several functions related to system and memory. This process is mostly in charge for the compression of files and folders and the management of RAM. Normally, the System and compressed memory process is only supposed to take up a small amount of CPU and Disk. However, in some bad cases, the System and compressed memory process starts using up more than 50% or up to 100% of users’ Disks. This causes their computers to become drastically slow and creates problems for the duties and responsibilities of other processes and tasks. Ultimately, this issue can lead to freezing or crashing of your PC.

Causes: System and Compressed Memory 100% Disk Usage in Windows 10
This issue can arise due to varying reasons, but there are two most common reasons. The System and compressed memory process can start using up to 100% of your Disk because of one of two reasons:
(i) You messed around with your virtual memory settings and ended up changing the paging file size from Automatic to a set value
Or,
(ii) The System and compressed memory process is simply troubled.
Luckily, there are several solutions available to solve the issue. Let’s quickly process towards the fixes for this issue.
3 Solutions to Fix System and Compressed Memory High Disk Usage Issue in Windows 10
Out of all the solutions, here I’m presenting a list of Top 3 Solutions to fix the issue. These solutions are tested and tried by the experts and proved to be the most accurate among all. Each method is presented with its step-wise tutorial. Just follow the easy steps and you’ll get through the issue real quick.
1. Disable System and Compressed Memory Temporarily
You can simply disable the System and Compressed Memory process temporarily to solve the high disk usage problem. Follow these steps in order to resolve the issue:
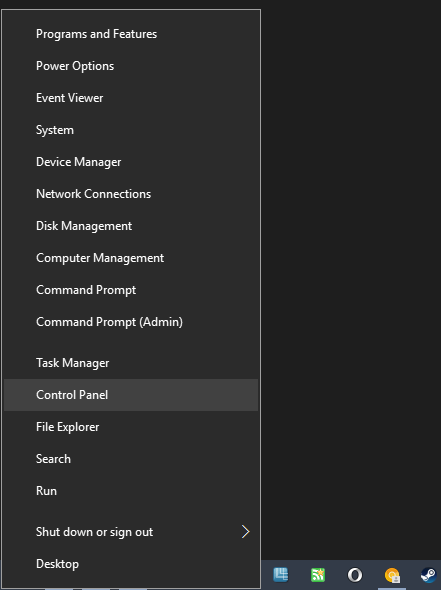
Step-1: Press the Windows Key + X simultaneously. Select Control Panel. Click on Administrative Tools and select Task Scheduler.
Step-2: In the Task Scheduler, double-click on Task Scheduler Library in the left pane to expand it.
Step-3: Now Double-click on Microsoft in the left pane to expand it. Next, Double-click on Windows in the left pane to expand it.
Step-4: Then, click on MemoryDiagnostic in the left pane to have its contents displayed in the right pane.
Step-5: Now in the right pane, locate and right-click on a task named RunFullMemoryDiagnosticEntry. Click on Disable in the context menu.
Step-6: Close the Task Scheduler and restart your computer. Check if the problem is solved.
If this didn’t help you out, try the next method.
2. Disable Superfetch
For those who are unaware, SuperFetch decreases the boot time and make must-load programs more efficiently. Though, it has been identified as a possible cause of disk performance issues in Windows 8 and later versions of Windows, including Windows 10. There are 2 ways to disable Superfetch. I’ll present both.
(i) Disable Superfetch using Run Command
Step-1: Press the Windows + R key together in order to trigger the Run dialog box. Type services.msc in it and hit Enter.
Step-2: Now locate “Superfetch”.
Step-3: Edit Superfetch by clicking on the properties.
Step-4: Now select “Stop” from stopping the Superfetch service.
Step-5: Then Disable Superfetch and click Ok.
(ii) Disable Superfetch using Command Prompt
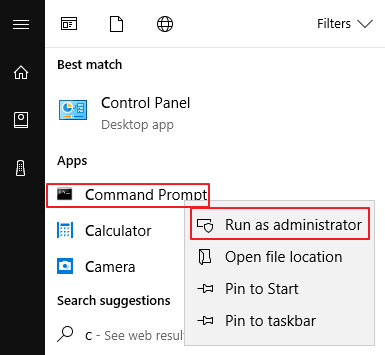
Step-1: Click on Start and search Command Prompt, right-click on it and click Run as administrator then click Yes to continue.
Step-2: Type the following command: net.exe stop Superfetch. Press the Enter key on your keyboard.
Step-3: Wait a few minutes to see if changes can be seen in your computer’s performance. If you wish, you can also run a disk check by typing the following command: chkdsk.exe /f /r and press the Enter key on your keyboard. Then type Y to confirm the disk check.
If this didn’t help you out, try the next method.
3. Scan for virus/malware
Certain virus and malware can lead to System and Compressed Memory high disk usage. You can clean the virus/malware to solve the problem. Follow these steps in order to resolve the issue:
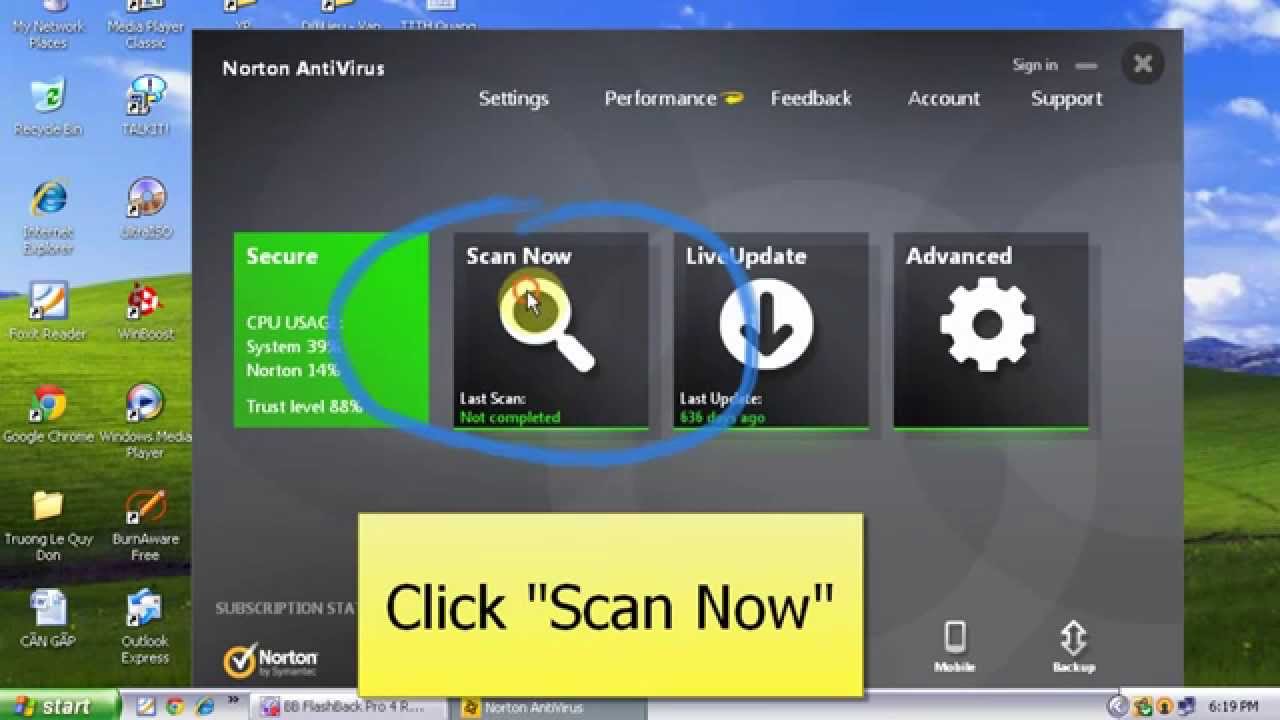
Step-1: Download and install a trusted and reliable antivirus software it is not already installed yet.
Step-2: Now do a Full Scan of your computer using the antivirus. Clear all the threats, if any.
If this also didn’t help you, try the next method.
Done.
Tips & Tricks to Avoid System and Compressed Memory High Disk Usage
Follow these tips in order to avoid the high disk and CPU usage caused by System and Compressed Memory process.
- Add more Ram, as this issue is related to RAM functioning. So you can simply avoid it just by increasing the RAM of your PC.
- Uninstall useless applications. Go to Control Panel -> Uninstall a program to uninstall any programs that you don’t need.
- Close applications or tabs that you don’t need. Unnecessary applications and browser web pages, when running, will push your memory usage to a higher stage. Just close them if you don’t need them.
- Updated all drivers available for your devices. Especially, the graphics card driver of your system.
Conclusion
System and Compressed Memory high disk usage is a common problem among the Windows 10 users. These were the Top 3 Solutions to solve the problem. For further help, you can visit the official Microsoft Thread related to the issue.
For any queries, doubts or suggestions, feel free to visit the Comments section. Hope I helped you out of the trouble. Have a nice day, Folks!