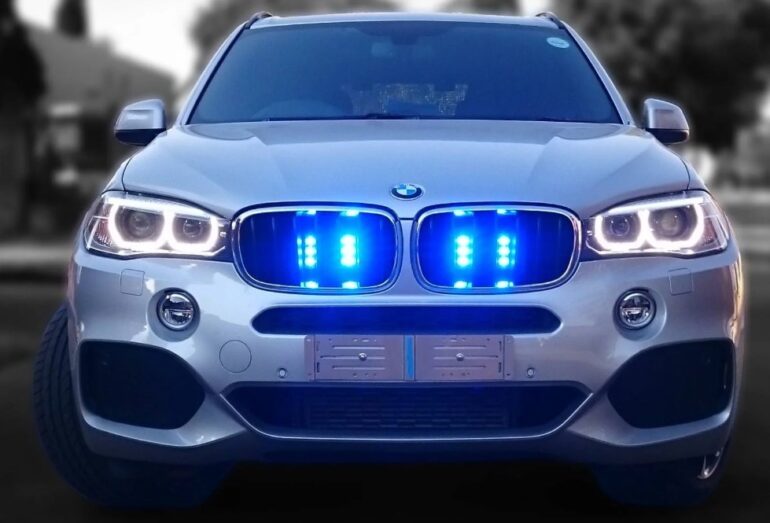
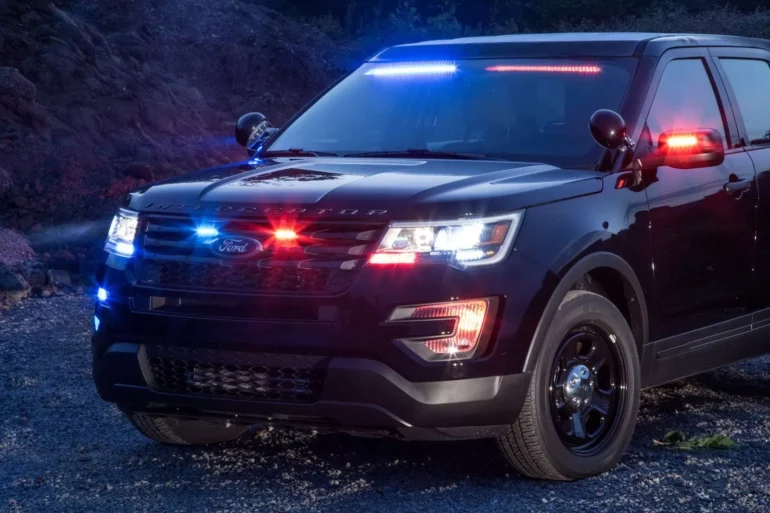
Ever been stuck on a foggy night with your vehicle’s emergency lights not working at their best, leaving you with a looming sense of insecurity?
This article takes you through an easy-to-follow guide, ensuring your emergency lights are in peak performance, and giving you the confidence to tackle unexpected roadside situations.
The Importance of Properly Functioning Emergency Lights

Your vehicle emergency lights play a major role in ensuring safety, not just for emergency vehicles but for your vehicle too. They broadcast a clear signal in the din of the road: Caution! Emergency vehicle passing!
Neglecting their upkeep can shroud you in precarious obscurity when it matters most. Imagine a breakdown on a mist-drenched freeway, your lights barely murmur in the swirling grey. Not a situation you’d prefer.
Punctual maintenance is key! By regularly attending to your vehicle’s emergency lights, you’re not just preventing unnecessary mishaps but actively fostering a safer driving environment.
Identifying Different Types of Emergency Lights in Your Vehicle
Let’s take a little tour through the light show that’s your vehicle’s emergency lights. First, you’ve got the hazard lights. These are your car’s way of saying, “Hey, watch out for me.”
Then, we have high-beam lights. These come in handy during foggy or low-light drives, helping you spot hazards from a distance. Lastly, there are fog lights. Located lower on your vehicle, they slice through dense fog to light the road beneath.
Now, every light has a tale to tell. If your lights are dim, flicker, or don’t come on, they say, “Hey, I need some attention.” Understanding each light’s function can help you better respond to their needs and ensure a smoother, safer ride.
Regular Inspection of Emergency Lights
Picture this: you’re going for a weekend drive, and a light goes out halfway through. That’s not a pleasant surprise. Regular inspections can help you avoid such scenarios.
Start with a visual inspection. Look for any dimming or flickering. They may be asking for a new bulb if they’re not working.
Remember to pair up. Check the lights in pairs, front and back. This way, you can be sure they’re equally bright and efficient.
Regularly check your lights, and they’ll keep you safe on the road. A couple of minutes before every trip can save you from many potential hazards.
Cleaning Your Vehicle’s Emergency Lights

Dirt and grime can seriously dull their shine. So, let’s talk about cleaning those lights for maximum brightness. Start with the right tools. Soft, non-abrasive cloth and a gentle cleaning solution will work wonders.
Harsh chemicals or rough materials? No, thank you! They can damage the lens cover. And remember, water and electricity don’t mix. Be careful to avoid any electrical components when you’re cleaning.
Next, use a light, circular motion to clean the lens cover. Too much pressure can scratch it. Rinse with clean water and dry thoroughly. This way, you’ll ensure there’s no residue left to dull your lights.
How often should you do this? If your car gets a lot of outdoor time or you live in a dusty area, consider cleaning your lights every two weeks. Otherwise, once a month should do the trick.
Checking and Maintaining the Electrical System
Here’s the deal: your emergency lights are like the applause at the end of a performance, but the electrical system is the conductor. This system ensures your lights flash, beam, or stay lit when you need them most. Any glitches here could mean a dim or silent encore, so let’s keep the show on the road.
Start by making sure your wiring and connections are tight and secure. Loose or frayed wires can lead to flickering lights or no light. In case of any doubt, refer to your vehicle’s manual or consult with a professional. Your light’s performance is directly linked to the condition of its electrical system.
Are your lights still giving you the silent treatment? The culprit might be a blown fuse. You’ll find these in the fuse box (the manual will tell you where). Replace any blown, and always match the fuse rating to avoid damage.
Finally, know your limits. Major electrical issues can be tricky to handle on your own. If you’ve checked everything and your lights are still dim or non-responsive, it might be time to call in a professional.
Troubleshooting Common Emergency Light Problems

Murphy’s law states, “Anything that can go wrong will go wrong,” and sometimes, that seems to apply to our emergency lights too. They blink rapidly, refuse to turn on, or behave erratically. But don’t worry; we’ve got solutions.
Rapid blinking usually means one thing: a bulb is on its way out. Check both the front and back lights. If one is dimmer or not working at all, you’ve found the problem.
A light that won’t turn on might be due to a blown fuse or a wiring issue. Replace any blown fuses, and check for loose or damaged wires. If you’re still in the dark, it might be time to hire a professional.
Finally, keep an eye on your dashboard. If any warning lights pop up, they could indicate an issue with your emergency lighting system. Keep your vehicle’s manual handy, and don’t hesitate to seek professional help.
Remember, you’re not alone in this. Sometimes, it takes some troubleshooting to shine a light on the solution.
We hope this guide has highlighted the importance of maintaining your emergency lights for optimum performance. They’re not just accessories but a vital part of your vehicle’s safety system.
Maintaining your vehicle’s emergency lights isn’t just about keeping them clean or changing a bulb now and then. It’s about adopting a proactive approach to safety, ensuring that, on the road, you’re as visible as you need to be.
