Epoxy resin is a popular material among artists, crafters, and DIY enthusiasts for its versatility and ability to create stunning visual effects. Adding color and texture to epoxy resin can elevate projects to new heights, allowing for endless creative possibilities.
Whether you want to make vibrant jewelry, unique coasters, or artistic tabletops, understanding how to color and texture epoxy resin is key to achieving beautiful results.
In this article, we’ll explore various tips and techniques for coloring and texturing epoxy resin, helping you create striking and personalized pieces. To get started on your epoxy resin projects, you can explore resources like Epoksi Smola.
1. Choosing the Right Pigments
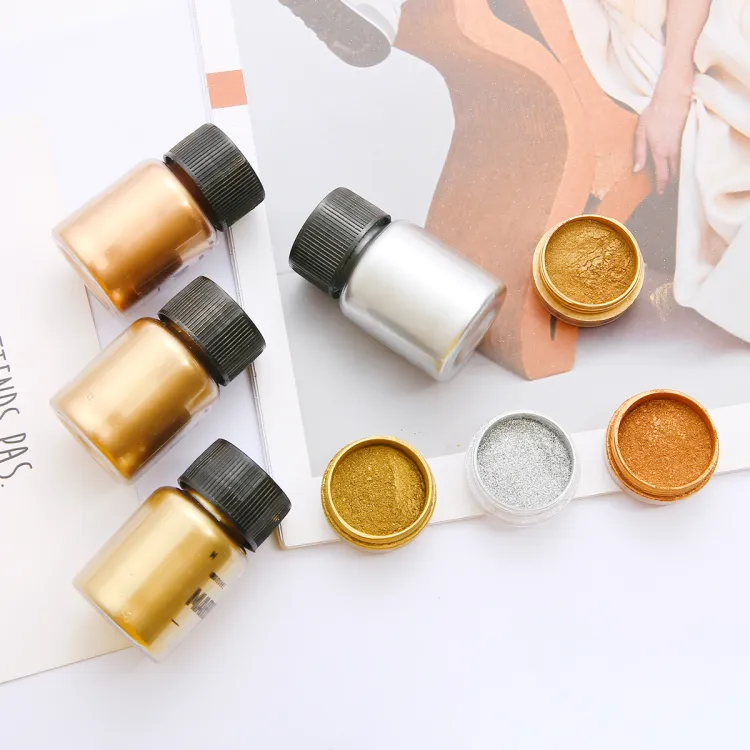
Selecting the right pigments is crucial for coloring epoxy resin. There are different types of pigments available, including liquid dyes, mica powders, alcohol inks, and acrylic paints. Liquid dyes are great for creating vibrant and transparent colors, while mica powders offer a shimmering effect.
Alcohol inks produce bright and colorful patterns, and acrylic paints provide opaque and solid colors. The choice of pigment depends on the desired effect and the specific project you’re working on.
2. Mixing Pigments with Resin
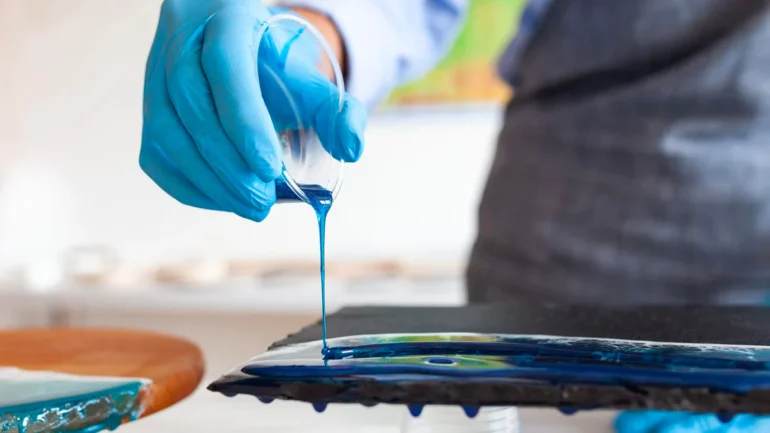
Properly mixing pigments with epoxy resin is important to achieve consistent and vibrant colors. Start by measuring the correct ratio of resin and hardener, then add the pigment gradually while stirring.
Be mindful of the amount of pigment you add, as too much can affect the curing process of the resin. Stir the mixture thoroughly to ensure the pigment is evenly distributed. If you’re using multiple colors, consider using separate containers for each color to prevent unwanted mixing.
3. Creating Marbling Effects
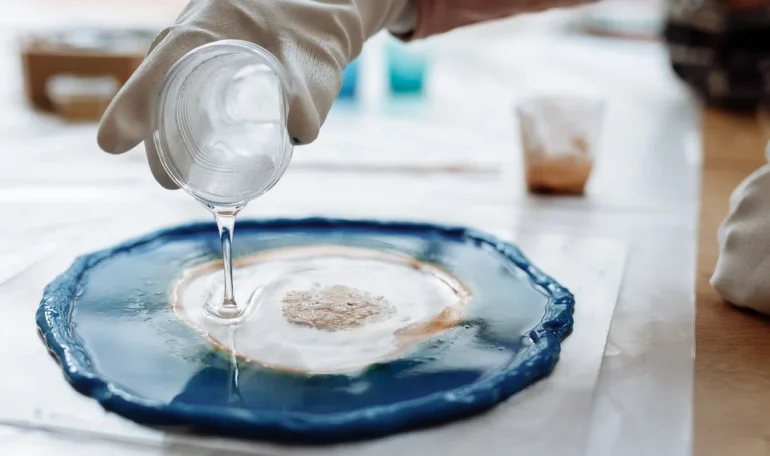
Marbling is a popular technique for adding visual interest to epoxy resin projects. To create a marbled effect, pour different colors of resin onto your surface and use a stirring stick or a toothpick to swirl the colors together.
The key is to work quickly and avoid over-mixing, as this can cause the colors to blend too much. For a more controlled marbling effect, you can use a heat gun or torch to move the resin and create unique patterns.
4. Adding Metallic or Shimmering Effects

Metallic and shimmering effects can enhance the appearance of epoxy resin projects. Mica powders and metallic pigments are great options for achieving these effects. Simply mix the powders or pigments into the resin before pouring, or sprinkle them on the surface of the resin for a sparkling finish.
You can also use metallic leaves or foil to add a touch of elegance and luxury to your projects. Experimenting with different amounts and types of metallic additives can help you achieve the desired level of shine and sparkle.
5. Incorporating Inclusions
Inclusions such as glitter, beads, or small objects can add texture and depth to epoxy resin projects. To incorporate inclusions, simply add them to the resin mixture or place them on the surface before the resin cures.
Be mindful of the size and weight of the inclusions, as heavier objects may sink to the bottom. For best results, use lightweight inclusions and consider layering the resin to create a suspended effect. Inclusions can add a playful and unique touch to your projects, making them stand out.
6. Creating Textured Surfaces

Textured surfaces can add tactile interest to epoxy resin projects. To create textured surfaces, you can use a variety of tools and techniques. For example, you can use a sponge or brush to create a stippled effect or use a comb or fork to create lines and patterns.
You can also embed textured materials such as fabric, sand, or natural elements into the resin to create a unique surface. Experimenting with different tools and materials can help you discover new and interesting textures for your projects.
7. Using Layers for Depth
Layering is an effective technique for creating depth and dimension in epoxy resin projects. To create layers, pour a thin layer of resin, let it cure partially, then add additional layers with different colors or textures.
This technique is great for creating scenes or designs that appear three-dimensional. Layering also allows you to add inclusions or details at different depths, creating a sense of depth and complexity. Be patient when layering, as each layer needs time to cure before adding the next.

Conclusion
Coloring and texturing epoxy resin offers endless creative possibilities for artists, crafters, and DIY enthusiasts.
By choosing the right pigments, mixing them properly, and exploring various techniques such as marbling, metallic effects, inclusions, textures, and layering, you can create stunning and unique epoxy resin projects. Whether you’re making jewelry, coasters, or artistic pieces, understanding these tips and techniques will help you achieve beautiful and personalized results.
