Wireless streaming is the new generation need for entertainment. The most trusted and reliable source for this is Google Chromecast. Majority of the streaming users use it to pass their leisure time. However, sometimes their reliable Chromecast malfunctions. This annoys the heck out of them. To avoid this frustration, in this post, we will discuss the Chromecast not working on Windows issue. I will tell you How to fix Chromecast not working on Windows in a very simple manner. So that, you can continue to watch your favorite content.

What is Chromecast not working on Windows issue?
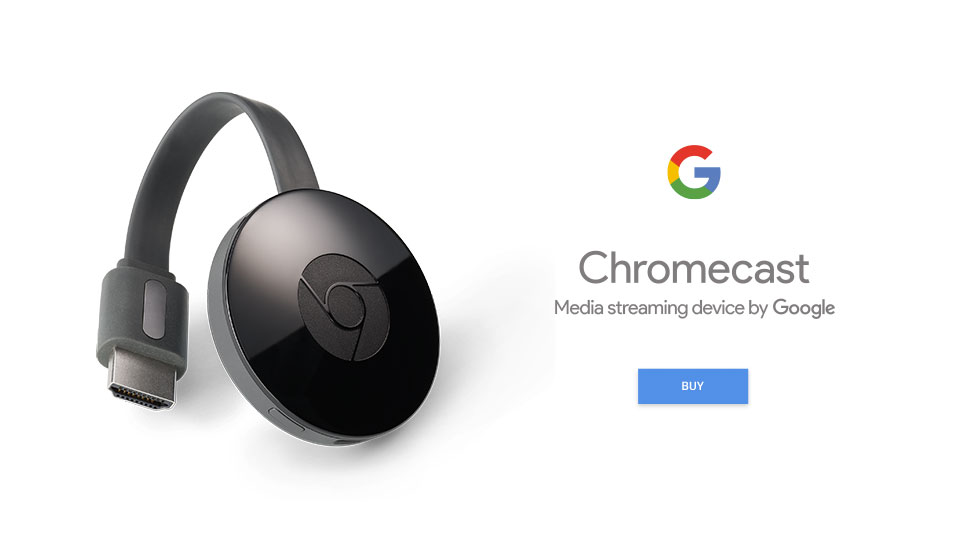
For a better understanding, we should start with a quick introduction to Google Chromecast. Chromecast is a series of digital media players that Google Inc. developed. These devices were designed as small dongles. They enable users with a smartphone or PC to stream audio-visual content on HD TVs through mobile and web apps that support the Google Cast technology. The content can also be mirrored from the Google Chrome web browser running on a PC, as well as from the screen of Android devices. Google Chromecast is one of the most popular wireless streaming devices among the stream services users.

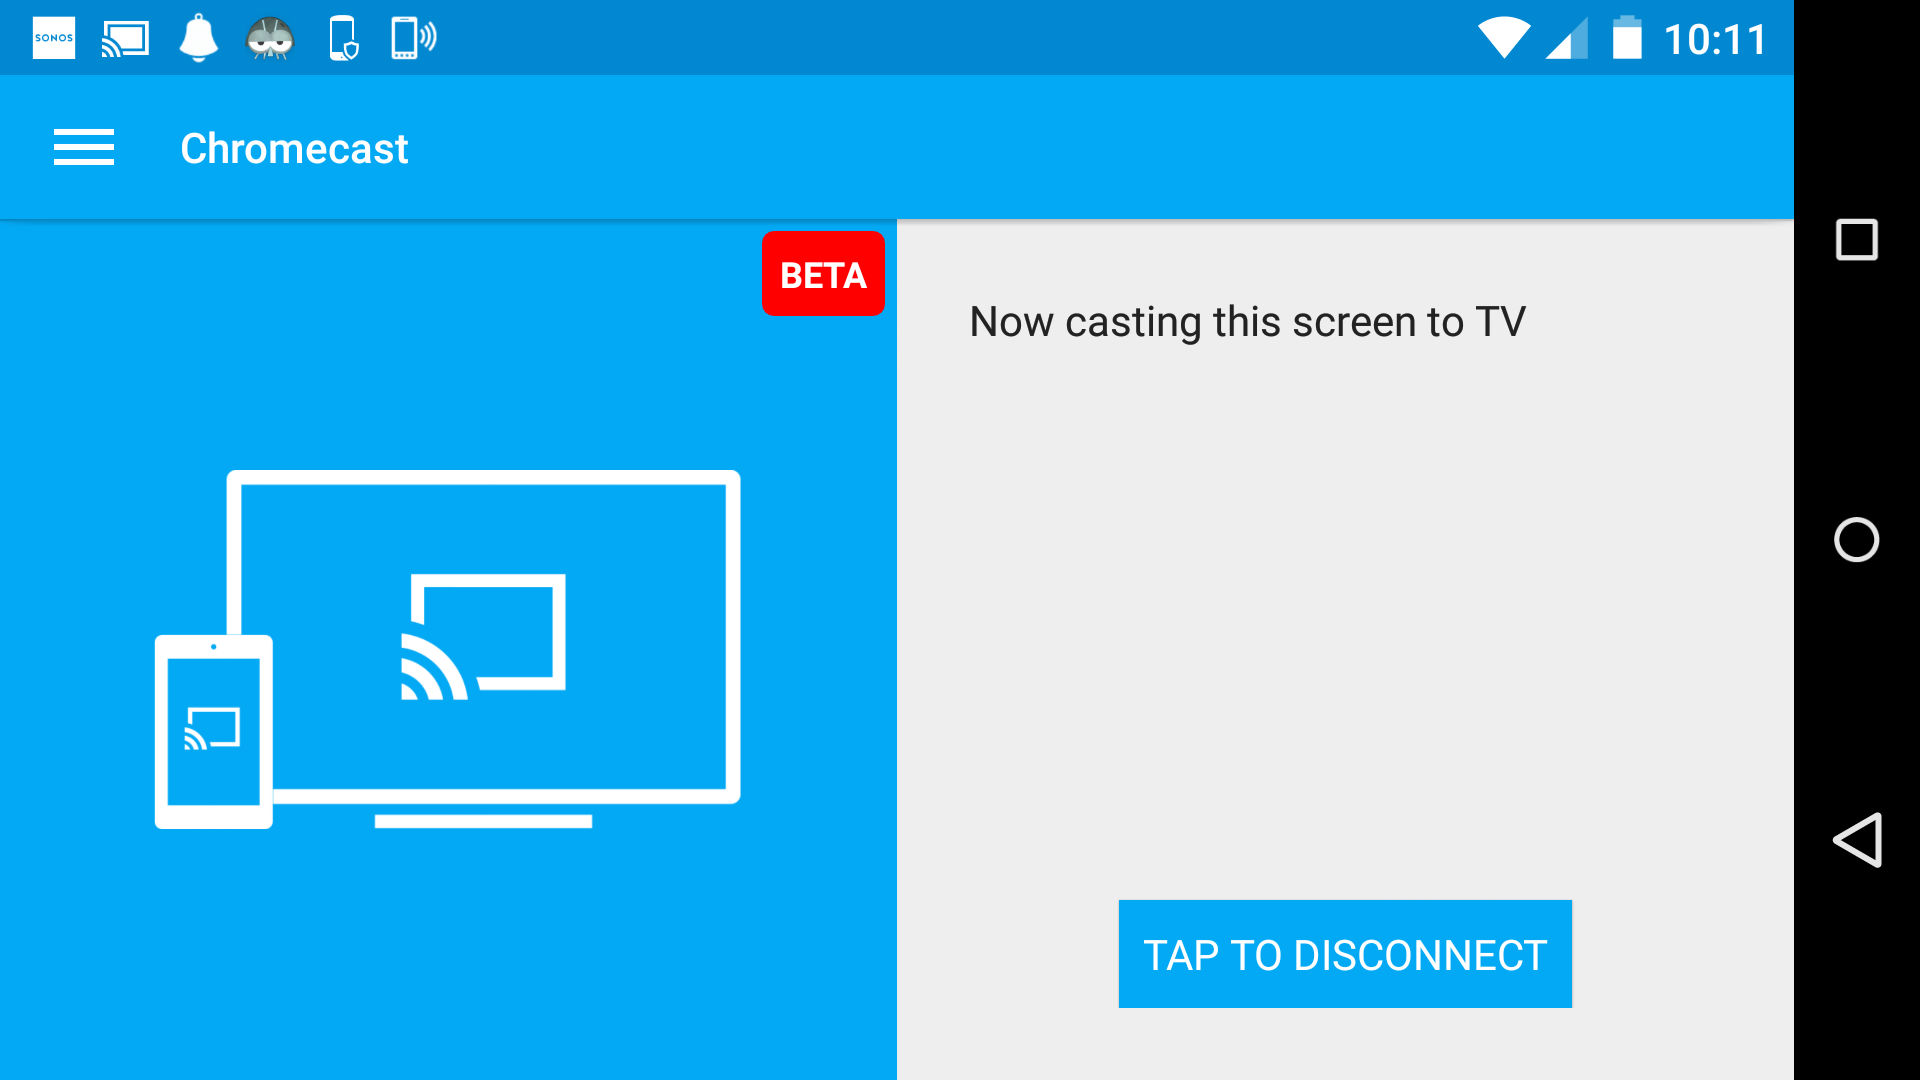
However, sometimes the Google Chromecast stops working, or Chromecast is not found, or Chromecast won’t cast on Windows PC, and fails to stream the content. This results in the failure of the Cast to device feature on Windows computer. Basically, this is known as the Chromecast not working on Windows issue. This could be caused by several reasons listing from software to hardware based. You don’t have to worry about them here, as you can simply solve the problem by using the solutions I’m presenting in the next section.

How to Fix: Chromecast not working on Windows?
There are several solutions available to fix the Chromecast not working on Windows issue. Out of those, I have compiled the Top 3 methods for you. Each method is coupled with their step-wise guides. Hence, you don’t need any special skills or knowledge. Just follow the steps properly and you’ll be able to stream again.
Note: Before moving further with the solutions, check these 2 things as they might just be the root of the problem in your case.
- Check the two devices connected to the same wifi network?
- Check if the two devices are within (4 meters) of each other, and Chromecast device 4 meters away from the router?

If any of the cases met with your situation, simply solve the problem and stop reading this article. If not, continue with the methods present below.
1. Turn on Network Sharing
Simply turning on the Network sharing feature on your computer sometimes fix the Chromecast not working on Windows issue. Follow these steps in order to resolve the issue:
Step-1: Go to the Search bar and type Network status in it. From the list of results, click on Network status to open it.

Step-2: Next, click on Network and Sharing Centre option present on the bottom-right of your screen.

Step-3: In the Network and Sharing Centre window, click on Change advanced sharing settings.

Step-4: Check if these two items are marked: Turn on network discovery and Turn on file and printer sharing. If any of these is unmarked, marked it. If they were already marked, unmark them and then mark them again. Then, click on Save changes and exit the window.

Step-5: Try to the Cast the device now.
If you can cast it, well and good. But if you still can’t, continue further.
2. Reset Stream Permissions
Resetting the stream permissions on Windows 8/8.1/10 computers is a good way to fix the Chromecast not working on Windows issue. Follow these steps in order to resolve the issue:
Step-1: Go to the Search bar and type Windows media player in it. From the list of results, click on Windows Media Player to open it.

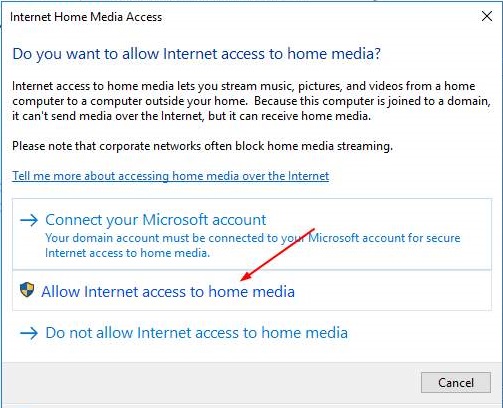
Step-2: Now click on Stream and then click on Allow Internet access to home media…

Step-3: Next, click on Allow Internet access to home media on the pop-up window.

Step-4: Click on Yes when asked by the UAC (User Account Control). In the next dialog box that is informing your change, click on OK.

Step-5: Now again click on Stream, and then click on Turn on media streaming…

Step-6: In the resulting Media streaming options window, click on Turn on media streaming.

Step-7: Next, click on OK.

Step-8: Once more click on Stream, and then check if the Automatically allow devices to play my media… box is ticked. If it isn’t, put a tick-mark in it.

Step-9: Close the Windows Media Player and try to cast the device now.
You should now be able to stream your favorite content comfortably.
3. Update Network Card driver
Outdated or corrupted Network card drivers often result in Chromecast not working on Windows issue. In this case, you can fix the issue by simply updating the drivers. Follow these steps in order to resolve the issue:
Step-1: Go to the Search bar and type Device manager. From the list of results, click on Device Manager to open it.

Step-2: In the Device Manager, find and expand the Network adapters category. Now right-click on the device drivers and select Update Driver Software…

Step-3: Next, click on Search automatically for updated driver software and follow the instructions appearing on your screen.

Note: If the Windows cannot search for the device drivers automatically, find and install the drivers manually by visiting the manufacturer’s website. You can also use third-party softwares like Driver Easy, Driver Talent, etc to do the task in a very easy manner.
Step-4: Restart your computer. Try to cast the device now.
You can now continue to use Chromecast without experiencing any trouble.
Conclusion
Not being able to stream due to the Chromecast not working on Windows issue is a very frustrating experience. To get rid of the trouble, these were the Top 3 methods to solve the problem. For any queries, doubts, or suggestions, feel free to visit the Comments section below. Hope I helped you to solve the problem. Have a nice day, Folks!
