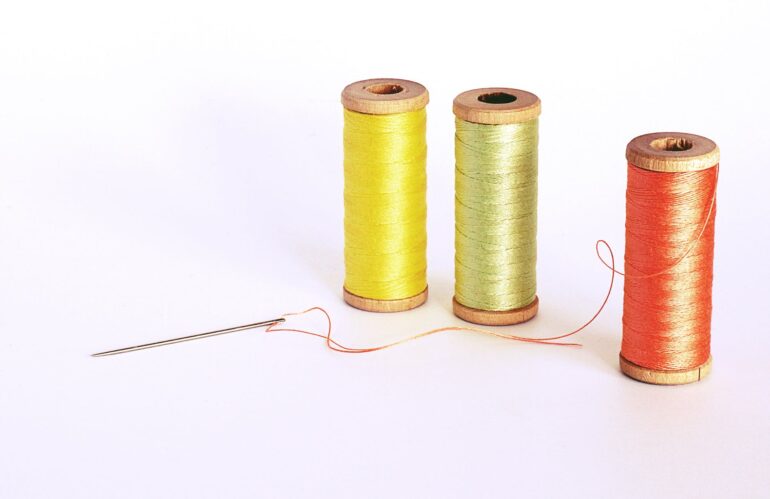
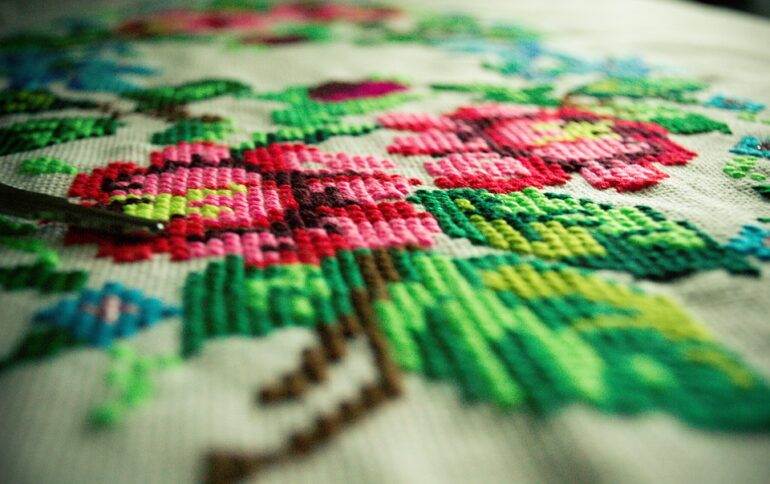
Hand embroidery is a very fun and interesting activity, and anyone who has at least once tried to make something creative out of fabric and thread will tell you so. Although you may not be a professional in embroidery, it is certain that you will relax and make something interesting as a product of your work and effort.
However, the main reason why many people avoid embroidering at all is that they think it is too complicated for them. However, when you learn a few basic techniques, it will be enough for you to be successful. In this article we share different techniques every embroiderer should know.

1. Backstitch
One of the basic techniques in embroidery that will surely be very useful to you is backstitch. It is a technique that is suitable for making clear, sharp lines, for example: when you want to embroider words or initials. It can also be helpful in creating contours. How does it work? You need to take the fabric, and then pull the needle and thread to make a stitch from the front. Then pull the thread all the way, and thread it through at the desired distance which also represents the length of the stitch.
2. Running stitch
The following technique is one that allows you to very quickly and easily outline your design and involves two methods that you can apply as part of this technique. The first is the stabbing method, which involves pulling the needle and thread from back to front. Then make a small gap (how long you want the seam to be), and then pull the thread from front to back. This way you get small seams that are next to each other and look like they are running.
The second method is referred to as sewing one and involves weaving a needle and threading the fabric in a long, continuous motion, making several stitches at once. This method is reminiscent of sewing, which is why it got its name.
3. Straight stitch
Straight all is one of the simplest techniques, as it involves just pulling the needle and threading from the bottom up and then going back down, forming a shorter or longer stitch, depending on the distance you have made at the top.
Although it does not require much effort and complex skills, this does not mean that the use of this technique is not widespread. It allows you to create different textures, flowers and stars on the fabric, as well as fillings and much more. Once you start practicing this technique, you will realize how wide its application is and how beautiful embroidery you can make in a really simple way.

4. French knot
Unlike straight stitch, which most people learn quite easily, french knot is a technique that requires a little more effort, time and practice. We say this because you probably won’t be able to make the perfect French knot from the first time, but that doesn’t mean you shouldn’t keep trying. With a little perseverance, you will become a true professional. Why is this technique more challenging?
Because it involves wrapping a needle and thread so that a knot is made on the fabric. It is most often used to make fillings, but also to add some additional texture. It can look really nice and give a special note to the work, so that’s another reason why you want to keep practicing this technique.
5. Stem stitch
Another very simple and interesting technique involves making stem stitches and is special in that it is most often used to embroider vines or flower stalks. However, this is not the end of the application of this technique. You can use it whenever you want to make curves on your work and add a more elegant note to it.
6. Satin stitch
Satin stitch is another classic embroidery that you can use when you want to fill a specific section on the fabric. And best of all, this technique is very simple, and it also looks very nice. However, that is not the end.
Satin stitch is a type of connection that can be constantly upgraded, because the length, shape and arrangement of stitches significantly affect the final result. By making slight variations you will get a completely different embroidery. Basically, this stitch includes several straight stitches that are placed nearby. Test it on your next relationship and you will surely be delighted.

-
Seed stitch
Another great embroidery filling technique is seed stitch. And this embroidery looks exactly as it sounds. With this technique you will get the effect of seeds spontaneously scattered throughout your fabric. How to make a seed stitch? Very simple: pull the thread and needle from back to the front, then select the desired length of seam that will represent the individual seed. When you choose the best length, pull the thread towards the back end. Continue to repeat the same procedure with the other seeds, trying to always make the same length of seam and not move them too far from each other.
-
Beetle Wing Embroidery
And finally, we have to mention one special type of embroidery, and that is beetle wing embroidery. It is a technique that involves the application of the wing of the beetle Sternocera aequisignata. This technique dates back to the 18th century and from that period began to gain great popularity.
Why is it so special? Because the wings of these beetles have a special emerald glow and make each piece of clothing unique and beautiful. When viewed from different angles, the wings blend in different colors. Although this technique was popular two centuries ago, it does not mean that embroidery lovers are still not interested in it.
You can read more about beetle wing embroidery at https://www.embroidered-patches.co.uk/beetle-wing-embroidery.
Conclusion
Although embroidery can initially seem very complicated, the truth is that there are many simple techniques you can learn in the blink of an eye. We listed some of the most common ones that every embroiderer should know. With a little perseverance and practice, you will master even more complex techniques, and then you will become a true professional who creates amazing embroidery works.
