Bitdefender is a very popular tool used for cyber-security and its powerful antivirus. It is a handy software to have in your PC and is recommended by professionals. However, a lot of users have reported Bitdefender Threat Scanner problem in Windows, where they constantly receive a pop-up error message that does not go away. This gets annoying and comes in the way of using your PC.
Are you one of the people troubled by this error? Don’t know what to do? Then you have come to the right place! We will be discussing about the Bitdefender Threat Scanner and how to fix the pop-up error.
How to Fix BitDefender Threat Scanner Error
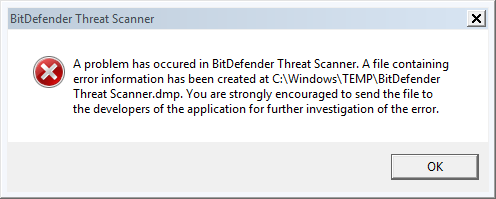
The Bitdefender Threat Scanner error, as the users report, is one where you keep getting pop up notifications on your PC saying
“A problem has occurred in BitDefender Threat Scanner. A file containing error information has been created at c:\windows\temp\BitDefender Threat Scanner.dmp. You are strongly encouraged to send the file to the developers of the application for further investigation of the error.“

If you are someone who is getting this error, then we have compiled the best-known ways to fix it. Let’s get started!
1. Running The Patch
This is an extremely common issue, and hence Bitdefender itself has provided one solution. This solution has been known to be the most popular one if you want to fix the Error and works for most users. Let’s see how:
- Press Windows Key + R, and type Winver. A window will come up where you will be able to see your exact Windows version and Build No.
- Now all you have to do is download a patch. If your System has 32-Bit Architecture, go here, and if your system has 64-Bit Architecture, download the patch here.
- Once the patch finishes downloading, run it.
The Bitdefender Threat Scanner issue should now be resolved and you can use your computer normally as before!
2. Uninstall and Reinstall Bitdefender
This solution is very basic, and yet it has fixed the Bitdefender error for a majority of users. To do this:
- Download the Bitdefender Removal Tool from here.
- Once you finish downloading Bitdefender Removal Tool, run it and use it to remove Bitdefender from your computer
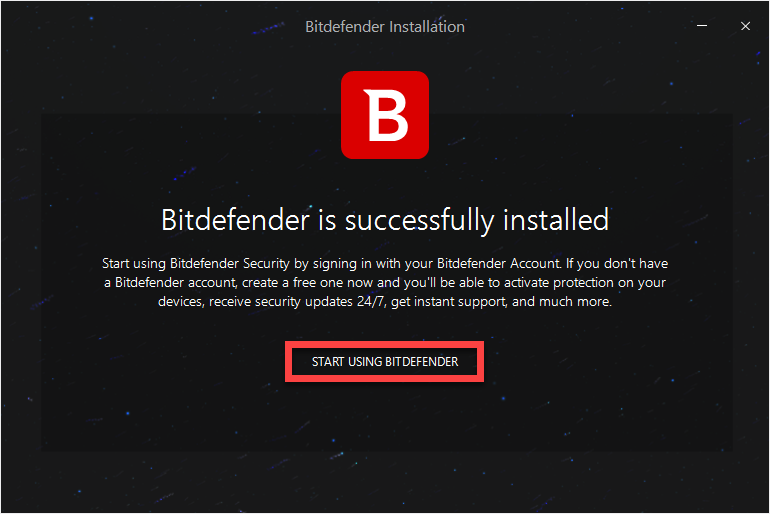
- Now, all you have to do is again install Bitdefender on your computer and run it

This should fix your Bitdefender Threat Scanner pop-up problem as it could be due to some bug that must have been fixed upon reinstalling Bitdefender.
3. Clear All the Temporary Files
Sometimes, it is the temporary files that could be causing the error. Clearing them is easy. All you have to do is:
- Press Windows Key + R
- Type %temp%
- The temp folder will open
- Select all the files, and delete them
That’s it! Even though this isn’t as popular, clearing your temporary files could very easily fix the Error for you.
4. Fix the Corrupted Files
If the above two methods do not work, we move to something advanced. Here, corrupted files in Spybot could be causing the problem. To get rid of these corrupted files, follow the steps below:
- Run Windows Explorer
- Go the below-mentioned directory:
C:\Program Files (x86)\Spybot – Search & Destroy 2
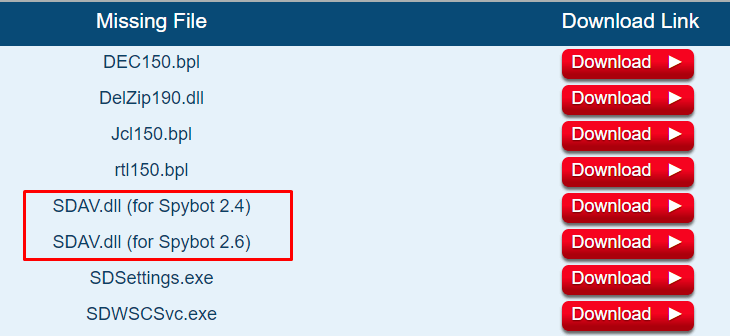
- Find a file by the name of SDAV.dll
- If the file is not present, you will have to download it. You can get the file from here.

- Once you finish downloading the file, copy it.
- Go to the directory mentioned above, and paste the file there
- However, if the file is already there in the folder, go to its properties and look at the size of the file
- Check if the size is 32 kB. If not, you will need to download and replace SDAV.dll from here.
If the file is corrupted, this method will fix it and the Bitdefender Threat Scanner .dmp Error on your Windows PC should not be there anymore.
Final Verdict
We hope that by using these methods, you were able to resolve the Bitdefender Threat Scanner Error in your Windows PC easily. Bitdefender is an extremely useful tool, and even though this error may be common among users, we would recommend using it for its powerful Cyber-security and antivirus features. The primary reason for this error is the presence of corrupted files, most likely in SpyBot.
If you have any further queries regarding the methods mentioned in this article, you can drop us a comment below and we will try to get back to you with a relevant answer.
